Technology
How to Record Video on MacBook – 4 Quick Methods
How to record video on MacBook? This is a question you may ask when your phone is not by your side, or the battery is dead. Actually, it is pretty simple to record a video with your MacBook since it also has a built-in camera. You can record a tutorial video, record the moments you spend with friends, or even record a meeting or a call. Just check the ultimate guide below to learn how to record video on MacBook with the 4 best methods.
Table of Contents:
Part 1: How to Record Video on MacBook for Free
Part 2: How to Record Video on MacBook with Internal Sound
Part 1: How to Record Video on MacBook for Free
It won’t be a problem to record a video on MacBook with a camera on it. There are several available free choices for you and some pre-installed software on your Mac can easily offer you assistance: Photo Booth, iMovie, and QuickTime Player. Without downloading any software, these apps on your Mac will help you solve the issue of how to record video on the MacBook without hassle.
1. How to Record Video on MacBook with Photo Booth
Whether you are using an internal or external camera, you can follow the steps below to record a video in Photo Booth.
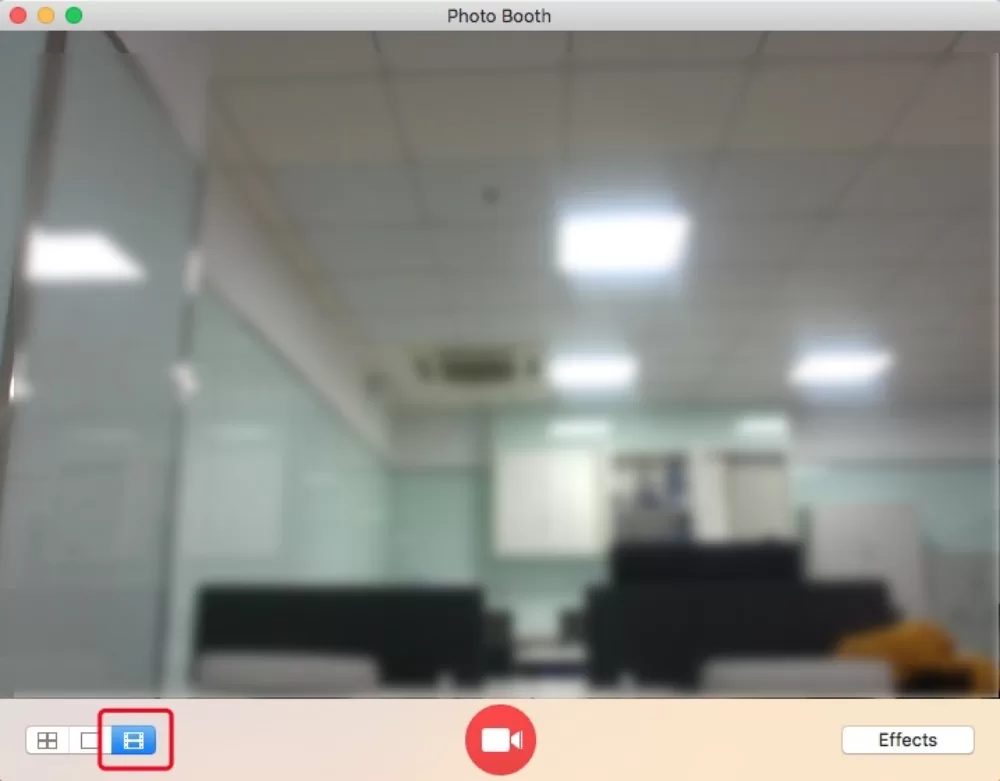
Step 1: Open the Photo Booth app on your Mac from the launchpad. Once it is on, you will see what the camera sees, and you can adjust the position to make sure you are in the picture.
Step 2: On the left corner below, click the Record a movie clip button to switch the app to video-recording mode.
Step 3: The center dot will become a video camera. Click on it and start shooting. You may also click the Effects button to choose a filter.
Step 4: Click the camera icon again to stop recording. A thumbnail will appear and click on it to preview the video.
Step 5: If you are happy with the video, click the Share button below to save it to the place you want on your Mac.
2. How to Record Video on MacBook with iMovie
You may know iMovie as a good editing tool on your MacBook, but it can also help you record videos within steps.
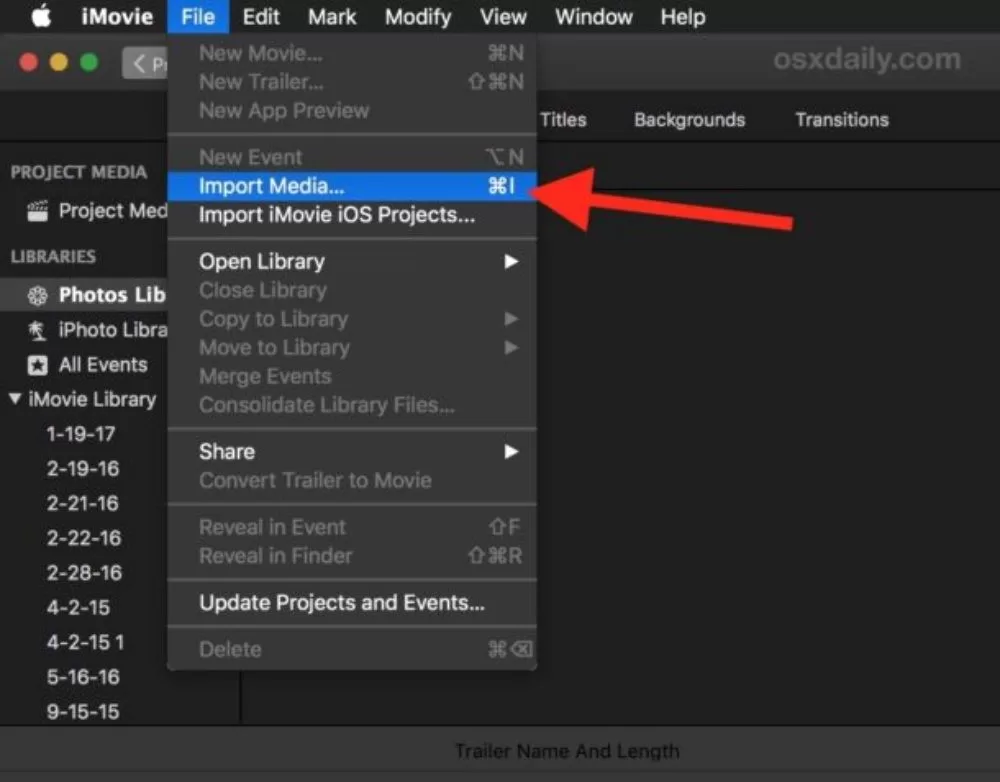
Step 1: Go to iMovie on your Mac. Open it and click the Import Media button from File on the menu bar.
Step 2: Choose a camera from the following window by clicking the FaceTime HD Camera button on the left side.
Step 3: Click the Import To dropdown button to choose which project you want this video to be. After that, click the Record button in the middle to start recording.
Step 4: You can click the same button again to finish recording. To save the video, click the Share button, choose a folder, and click the Save button to finish.
3. How to Record Video on MacBook with QuickTime Player
QuickTime Player does more than just play videos, recording a video can also be easy with it if you check the guide below.
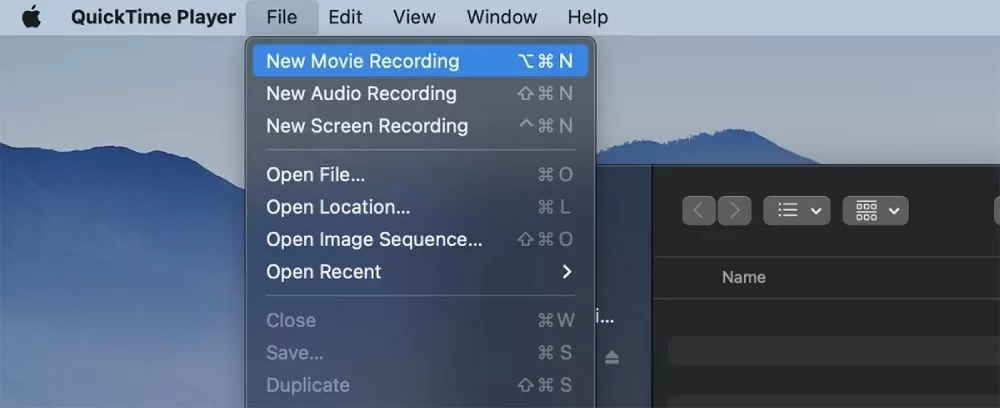
Step 1: Open QuickTime Player on your Mac. On the menu bar, click the File button and the New Movie Recording button.
Step 2: A preview window will show the view in the camera. Click the Record button with a red dot icon to record a video.
Step 3: You need to click the Record button again to finish recording. The Player will directly start playing your video.
Step 4: If you are fine with it, press Cmd and S keys to save to your Mac.
Part 2: How to Record Video on MacBook with Internal Sound
Apart from the above-mentioned methods, you can also rely on a third-party app to make video recording more interesting. For example, if you know how to record a video on MacBook with internal sound, then you can record your webcam with music playing on your Mac, or record a FaceTime call with the sound of all participants. So, here comes the Apeaksoft Screen Recorder for Mac, which can record, preview, and edit videos on your MacBook.
More features:
- Record the sound from both internal and external microphones.
- Add notes to your recorded video while previewing it.
- Check all the past videos you record in the history section.
- Cut off unwanted parts in your video right away after recording.
- Set record length to avoid post-production trimming.
Step 1: Free download and install the recorder on your Mac. Launch it and click the Video Recorder button if you want to record a video with internal sound on Mac.

Step 2: Click the Camera button to turn on the webcam on your Mac. And click the System Sound button to record internal sound. Then use your mouse to drag and adjust the recording area. Make sure it is the same size as the preview window of your camera.

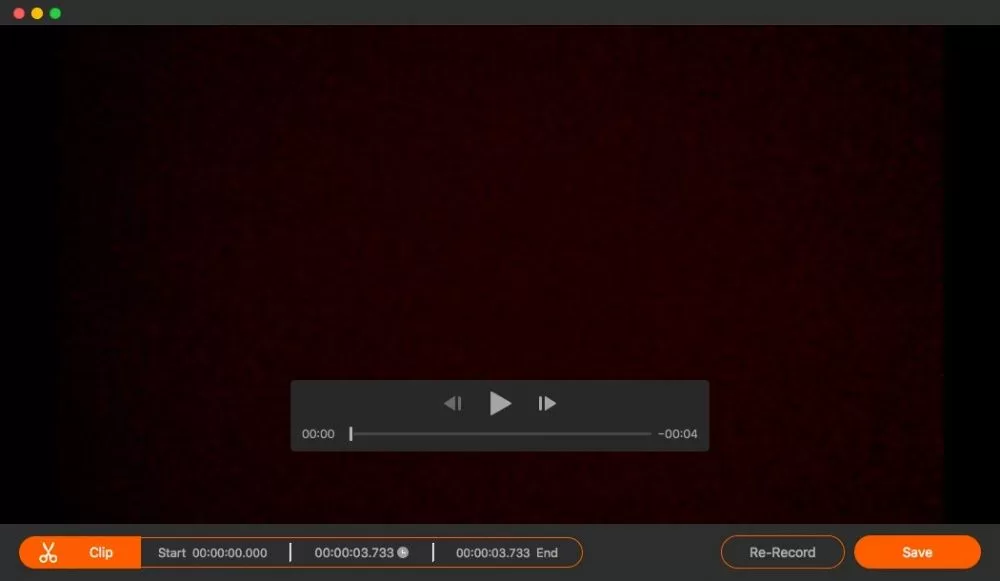
Step 3: After setting it all, click the REC button to start recording. Press Ctrl, Cmd, and S keys to stop recording. Then, check if the video is fine, click the Export button, choose a folder to save your video, and click the Next button to finish.
Conclusion
Now, you’ve got so many solutions to beat the question of how to record video on a MacBook. Recording video has never been easier before with the ultimate guide above. If you prefer the free method, choose from the pre-installed software. If you want more recording modes and internal sound, then the third-party app can be your best helper.


