Lifestyle
How Are Glass Splashbacks Fitted to Kitchen Walls?
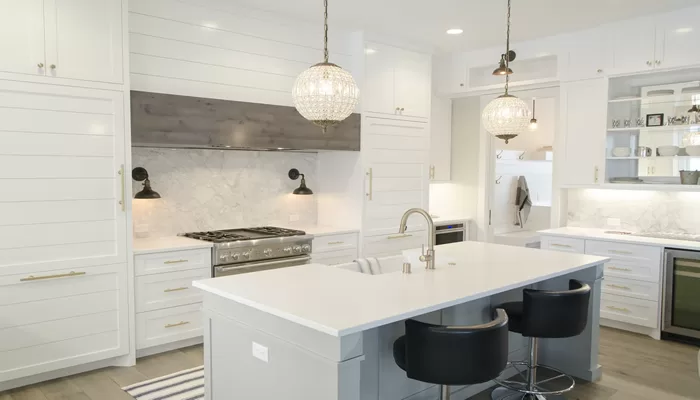
A high-quality splashback can make a real difference to the presentation and practicality of any kitchen. Designed to provide robust protection for the surface beneath, a premium glass splashback can have a lifespan that exceeds that of the kitchen as a whole.
The performance, appearance and longevity of a glass splashback will always be influenced by two main factors:
- The quality of the materials used in the manufacturing process
- The care and attention with which the splashback is installed
Technically speaking, the main steps involved in installing a kitchen splashback are fairly straightforward. Comparatively few tools are needed to fit a splashback with pinpoint precision, but a little DIY experience can certainly go a long way.
Ensuring the perfect fit for your bespoke glass splashback is something that takes place over six equally important stages, as follows:
Stage 1. Taking Precise Measurements
The first and most important stage in the process is taking precise measurements, from which the subsequent splashback will be manufactured. This alone will play the biggest role in determining the speed and simplicity of the installation process, along with how well the splashback complements its surroundings.
Measuring for a kitchen splashback is a fairly simple job, but should under no circumstances be rushed. The measurements taken will be used by the splashback manufacturer to create a virtual model of the final product, which will then be used to create the bespoke glass panel. Hence, errors and inaccuracies at this stage can compromise the project in its entirety.
Stage 2. Virtual Splashback Design
Along with shape and size, a custom glass splashback can be finished in almost any imaginable colour or design. It is even possible to print custom graphics on a splashback – anything from a unique pattern to a family photograph.
The splashback design and installation team will create a computer mock-up of the proposed splashback before the manufacturing process begins. The customer will have the opportunity at this stage to request alterations, which may include moving the graphics to a different position, or altering their shape and size. Only when the customer is completely satisfied and the design finalised, the manufacturing process can begin.
Stage 3. Precision Cutting and Finishing
Advanced automated cutting systems are then used to create the required splashbacks shape and size with pinpoint precision. The glass is cut in a way that ensures there are no sharp corners or dangerous edges, including any requested cut-outs for sockets and switches.
The splashback in its entirety is then given a comprehensive quality and safety check, before being approved for installation.
Stage 4. Fix with Silicone Adhesive
A specialist silicone adhesive is then applied to the surface of the wall upon which the splashback is to be installed. The adhesive used is a highly-durable product with outstanding resistance to chemicals, moisture and high temperatures, enabling it to withstand the challenging environment of a busy kitchen.
It also allows a degree of flexibility, to compensate for any expansion or contraction that may occur due to temperature changes. Just the right amount of adhesive is applied to the surface of the wall, in order to hold the unit in place without any leaks around the edges.
Stage 5. The Panel is Pressed and Held in Place
The splashback must then be pressed against the wall in a very specific and careful way, so as to ensure maximum adhesion. Starting from the bottom, the panel should be pressed gradually into the adhesive until the full panel is in place.
It will then need to be held in place for enough time to ensure it is held securely, after which the adhesive will need to be given sufficient time to dry fully.
Stage 6. Silicone Sealant Around the Edges
The final stage in the process is to carefully apply a layer of silicone sealant around the edge of the splashback. This is to prevent the build-up of moisture and bacteria behind the glass panel, which could affect the adhesion of the material to the wall.
Extreme care, attention and precision are called for at this stage, as even the slightest imperfections can lead to major issues at a later date. The silicone sealant around the edge needs to be applied evenly for presentation purposes, though in an adequate quantity to ensure a flawless, watertight seal.
Choosing a tinted sealant that complements the aesthetic of the splashback and its surroundings is recommended, but is technically optional. If preferred, a standard white silicone sealer of the highest quality can also be used.
If you have any concerns regarding your ability to install your splashback with pinpoint precision, consider professional installation to ensure the longest possible lifespan for your splashback.


